
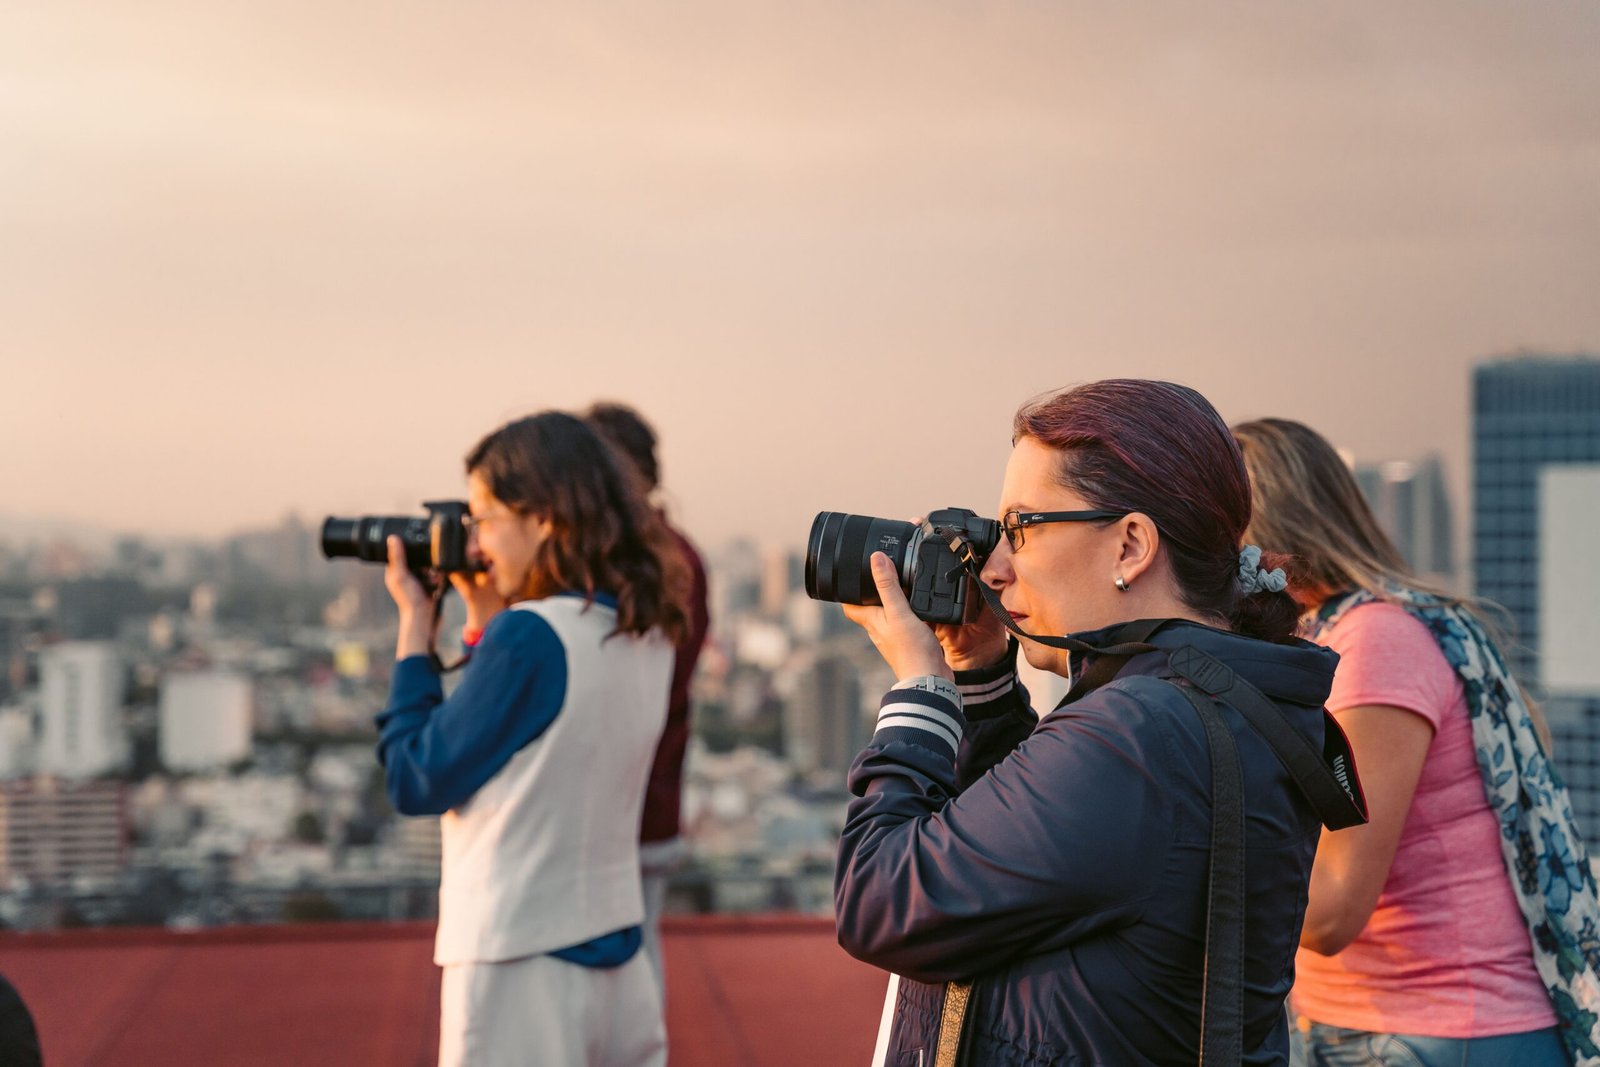
Phone Photography Tips: 10 Ways to Shoot Better Photos
Smartphone cameras have become powerful enough to rival professional equipment, yet most people still take photos on auto mode without knowing how to use their phone’s full potential. Whether you’re capturing a sunset, a family gathering, or your favorite meal, a few simple adjustments can dramatically improve the quality of your photos.
You don’t need expensive gear or advanced editing skills to take better phone photos — just a better understanding of light, composition, and a handful of practical habits. Here are 10 simple tips that will instantly improve your smartphone photography.
Table of Contents
- Clean Your Camera Lens First
- Use Natural Light Whenever Possible
- Follow the Rule of Thirds
- Tap to Focus and Adjust Exposure
- Avoid Using Digital Zoom
- Shoot in Burst Mode for Moving Subjects
- Keep Your Phone Steady
- Use Grid Lines for Better Composition
- Edit Photos Lightly, Not Heavily
- Experiment with Different Angles
1. Clean Your Camera Lens First
Before anything else, one of the simplest ways to take better phone photos is to make sure your camera lens is actually clean. Phones spend most of their time in pockets and bags, and fingerprints, dust, and smudges build up on the lens without you noticing.
A quick wipe with a soft cloth before shooting can immediately sharpen your images and reduce blurry or hazy spots — a fix that costs nothing but makes a noticeable difference.
2. Use Natural Light Whenever Possible
Lighting is one of the biggest factors separating an average photo from a great one. Natural light — especially during the early morning or late afternoon, often called the “golden hour” — produces soft, flattering results that are hard to replicate with artificial lighting or flash.
Whenever possible, position your subject near a window or shoot outdoors instead of relying on your phone’s built-in flash, which often creates harsh shadows and washed-out colors.
3. Follow the Rule of Thirds
The rule of thirds is one of the most fundamental composition techniques in photography, and it works just as well on a smartphone as it does on a professional camera. Imagine your screen divided into a 3×3 grid, and try placing your subject along one of the intersecting lines rather than directly in the center.
This simple shift creates more visually interesting and balanced photos, whether you’re shooting a landscape, a portrait, or a still-life shot of food. As Adobe explains, this technique creates four key intersection points that naturally guide the viewer’s eye toward the focal point of an image.
4. Tap to Focus and Adjust Exposure
Most smartphone cameras allow you to tap directly on the screen to choose where the camera should focus — and often to adjust brightness at the same time. Instead of letting the camera decide automatically, tapping on your subject ensures it stays sharp while giving you control over how bright or dark the image appears.
This small habit can rescue photos that would otherwise come out too dark, too bright, or focused on the wrong part of the scene.
5. Avoid Using Digital Zoom
Digital zoom might seem like a convenient way to get closer to distant subjects, but it usually reduces image quality significantly, resulting in grainy or pixelated photos. Instead of zooming in digitally, it’s almost always better to physically move closer to your subject when possible.
If moving closer isn’t an option, it’s often better to take the photo at a normal distance and crop it afterward, which can produce a cleaner result than relying on zoom at the moment of capture.
6. Shoot in Burst Mode for Moving Subjects
Capturing kids, pets, or any fast-moving subject can be frustrating with a single shot, since timing is everything. Most smartphones offer a burst mode that takes multiple rapid photos with one press, dramatically increasing your chances of catching the perfect moment.
Afterward, you can simply scroll through the burst and keep only the best shot, deleting the rest — a simple trick that professional photographers use constantly.
7. Keep Your Phone Steady
Camera shake is one of the most common reasons phone photos come out blurry, especially in low light. Holding your phone with both hands, tucking your elbows close to your body, and gently pressing the shutter button (rather than tapping abruptly) can all reduce unwanted movement.
For extra stability, leaning against a wall, resting your arms on a solid surface, or using a small tripod can make a noticeable difference, particularly in dim environments.
8. Use Grid Lines for Better Composition
Turning on your phone’s built-in grid lines (usually found in camera settings) gives you a visual guide for composition without needing to memorize the rule of thirds every time. These grid lines help you keep horizons straight and subjects aligned, both of which contribute to a more polished-looking photo.
Many phones also offer a level indicator that shows when the camera is perfectly horizontal, which is especially useful for landscape and architecture photography.
9. Edit Photos Lightly, Not Heavily
A little editing can enhance a photo, but over-editing often makes images look unnatural. Simple adjustments — slightly increasing brightness, boosting contrast, or gently adjusting saturation — can make colors pop without making the photo look artificial.
Most phone photo apps include basic editing tools that are more than enough for everyday use, so there’s rarely a need for complicated third-party software unless you’re pursuing photography more seriously. Apps like Google Photos offer built-in adjustment tools for brightness, contrast, and color that work well for quick, everyday edits.
10. Experiment with Different Angles
Many people take photos from a single standing eye-level angle out of habit, but changing your perspective can transform an ordinary shot into something much more compelling. Try crouching low, shooting from above, or getting closer to capture interesting details.
Experimenting with unusual angles is one of the easiest ways to make your photos feel more creative and professional, even when using nothing more than your phone.
Phone Photography Tips at a Glance
| Tip | Key Benefit |
|---|---|
| Clean the lens | Sharper, clearer images |
| Use natural light | Softer, more flattering results |
| Rule of thirds | Balanced, visually interesting composition |
| Tap to focus | Sharper subject, better exposure |
| Avoid digital zoom | Prevents grainy, low-quality shots |
| Burst mode | Captures fast-moving subjects |
| Steady hands | Reduces blur from camera shake |
| Grid lines | Straighter, better-aligned shots |
| Light editing | Enhances without looking artificial |
| New angles | Adds creativity and visual interest |
Frequently Asked Questions
How can I take better photos with just my phone? Focus on lighting, composition, and a clean lens first — these three factors make the biggest difference before you even think about editing.
Should I use my phone’s flash? Generally, natural light produces better results than flash, which often creates harsh shadows. Use flash only when there’s no other lighting option.
Why do my phone photos look blurry? Blurry photos are often caused by camera shake, a dirty lens, or using digital zoom. Keeping your phone steady and lens clean solves most of these issues.
Is digital zoom bad for photo quality? Yes, digital zoom typically reduces image quality. It’s usually better to move closer to your subject or crop the photo afterward.
Do I need expensive apps to edit phone photos? No, most phones come with built-in editing tools that are sufficient for basic adjustments like brightness, contrast, and saturation.
Conclusion
Taking better phone photos doesn’t require expensive equipment or professional training — just a better understanding of light, composition, and a few practical habits. From cleaning your lens to experimenting with new angles, these simple adjustments can transform your everyday smartphone photos into images you’ll actually want to share.
The next time you reach for your phone to snap a photo, try applying even two or three of these tips, and you’ll likely notice a difference right away.
(Related reading: How to Take a Screenshot: Easy Methods for Windows, Mac, Android and iPhone)